0.0.18 – initial in-progress construction


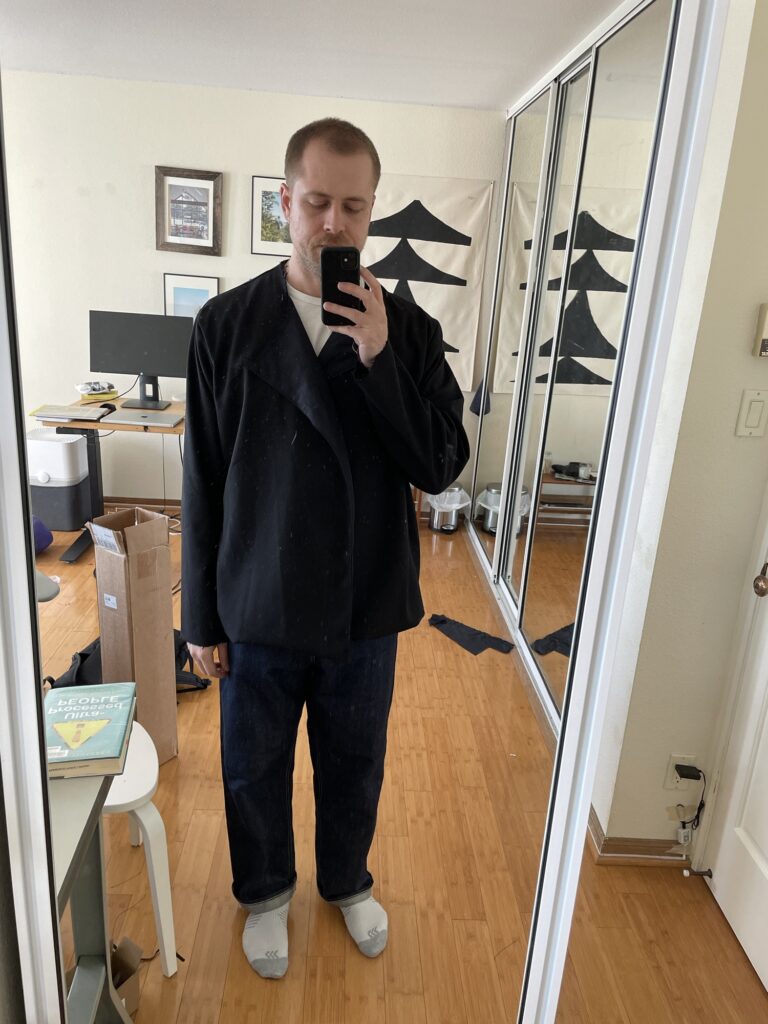
Here’s an update on the photo jacket. I switched gears pretty significantly, no longer using the pattern that I spent most of the previous posts tinkering with.
Instead, I used The Green Pepper’s pattern for a barn jacket as the base. Charmingly, this pattern must be ordered printed on newsprint rather than downloaded as a PDF.
This was one of several choices to “cut scope” for the project. I found that to actually make progress, I had to reduce my lofty ambitions. I was spending a long time adjusting a pattern and not getting it to fit any better — no huge surprise, because I didn’t really know what I was doing—and this kept me from actually making something and learning from it.
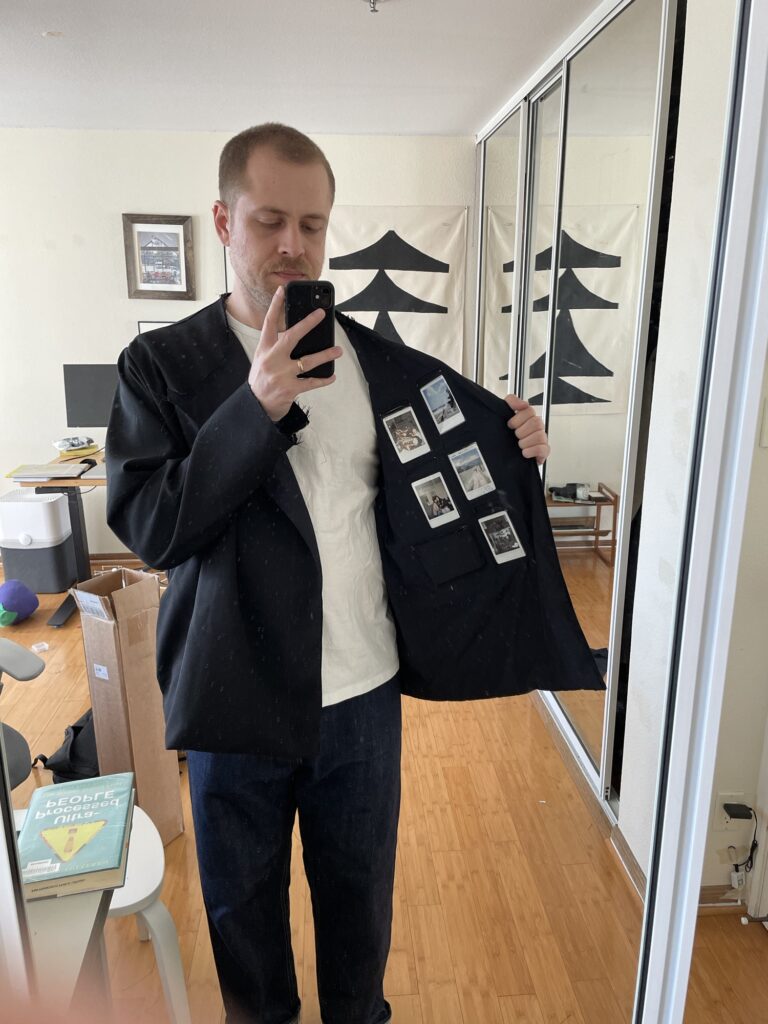
Another choice to cut scope was to reduce the number of embedded photos in the jacket. Originally I wanted them everywhere, and hoped to have something like 20 total photo panels. But it turns out the photo panels are very tedious to make, and I found myself losing interest quickly. So after the fifth one I stopped and moved on to constructing the rest of the jacket.
Due to (a) the placement of the photo panels and (b) the size of the Green Pepper base pattern, I’ve reached a point where I can’t do what the pattern asks without covering the photo panels completely.
So instead I might embrace the asymmetric blazer-like vibe here and add a single button instead of a zipper?
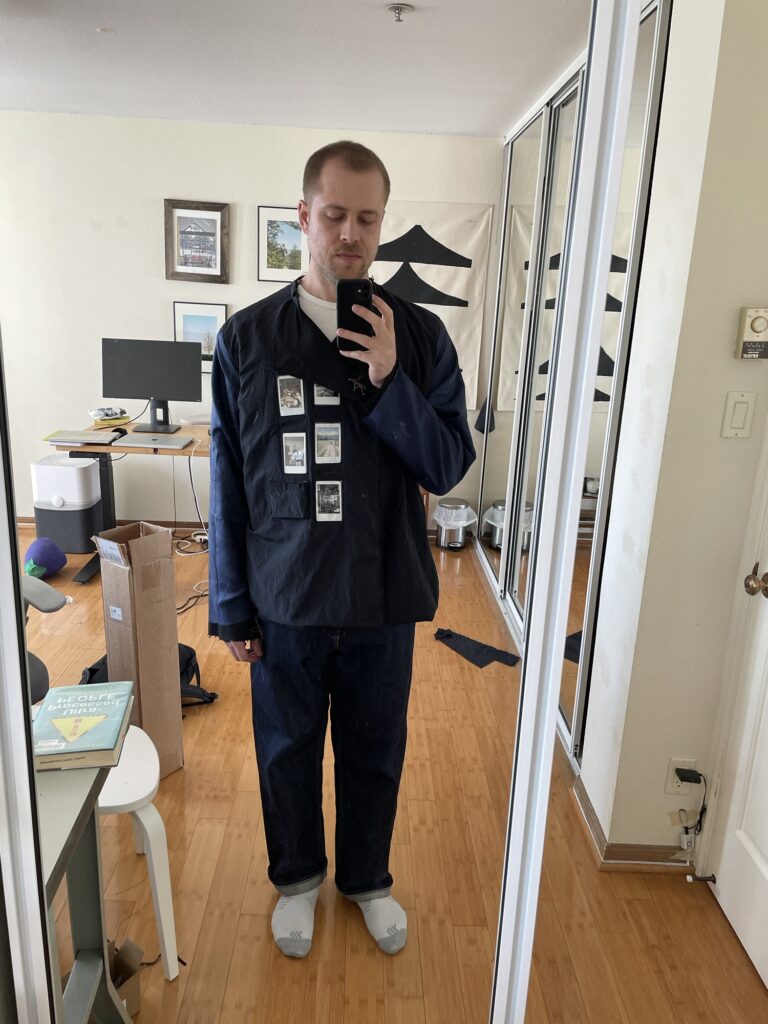
What’s cool is that the jacket is fully lined with no exposed seams and therefore reversible, at least until I add a collar or hood and finish the sleeves. So the photo panels can be in the lining of the jacket, or on the outside.
It’s cool- the way you do a lining like this is to construct the main jacket body/sleeves twice, then connect the two pieces and turn them inside out through the hole in the neck so that any seams are hidden and sandwiched between the outer and inner.
The outer material is a black midweight technical wool/polyamide (nylon) blend with a seed-like weave. The inner material is a subtle, iridescent midnight navy lightweight nylon taslan, deadstock from Issey Miyake. Both fabrics came from Stonemountain & Daughters in Berkeley.
And the sleeves are lined with a navy bemberg to make it really easy to slip the jacket on.
The photo panels were interesting. For one, they use 4 layers of fabric (not including the outer layer), one of which is fairly heavy PVC, so they end up kind of heavy.
I made some mistakes on the first two and ended up with unfinished seams. I learned from this and fixed it on the remaining three. They work! Although I made them a little too snug— it’s actually way too hard to remove each photo… one solution for this is to make each panel a zipper pocket like I had originally intended, although I’m still a little skeptical of this. I think it would work well without a dangly zipper pull since those are pretty noisy. It allows there to be a little more grace with the size of the “pocket” that contains each photo. If I were to do zippers for the panels, then it makes more sense to do the photo panels on the outer of the jacket because then zippers aren’t pressing against the wearer’s chest.
To be honest I was paralyzed on this project for a really long time (see the time elapsed between the last post and now). Some of the things that helped get unstuck were reflecting on why I was stuck, and then adjusting course away from my ideal plans. My default approach is perfectionism, which tends to (shockingly) make hobbies a lot less fun. This project became more fun when I made it simpler, worked from an established pattern, reduced my ambitions, and moved forward with fabrics I was excited about.
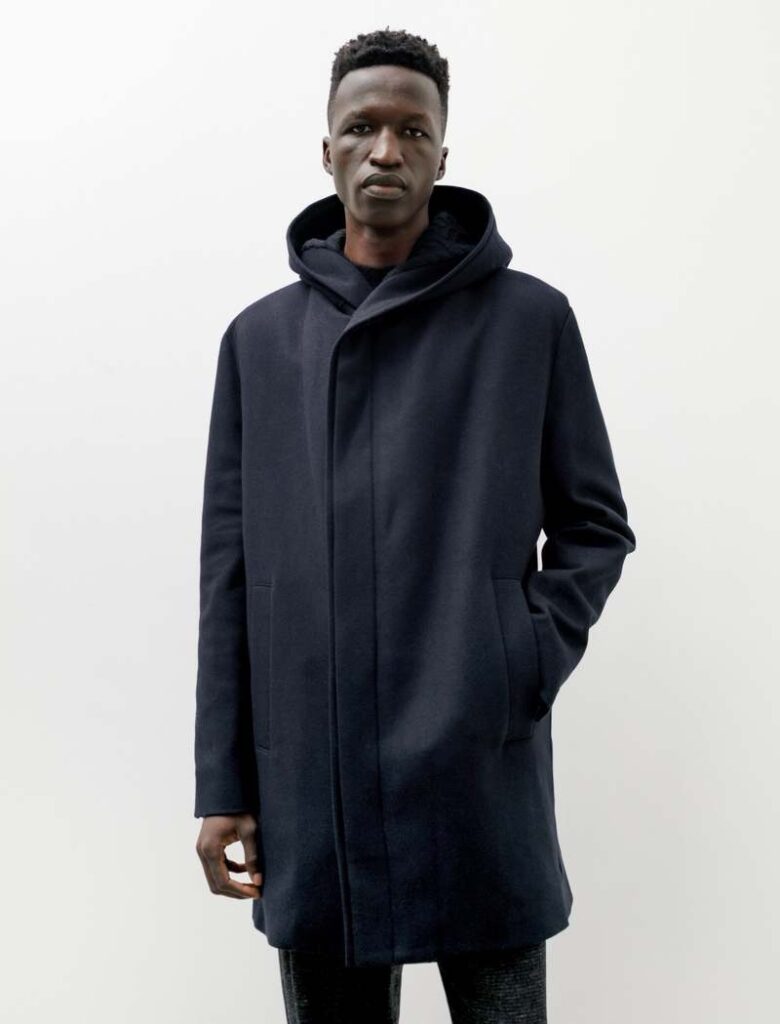
Next I’ll need to finish the neck, possibly with a big hood. I wasn’t aiming for this, but for some reason I’m getting strong Stephan Schneider vibes:

I’m definitely a little concerned about finishing the neck, because due to the mistake I made with sizing and photo panel placement I can’t exactly continue with the original instructions.
Next up I’m thinking I try learning how to make buttonholes. I bought an attachment for the juki industrial machine but haven’t tried it, and am really hoping it works.
Then, I can add buttonholes and either buttons, or else ribbon-like tie closures to shut the jacket in an asymmetric way. Because of its looseness and weight of the wool it feels very casual but also elegant. So something other than a zipper feels more appropriate. I had bought a nice riri zipper for this project but will have to find somewhere else to use it.
No Comments