0.0.5 – CLO Udemy Course #1
After pausing for the holidays, I completed the first of five Udemy courses sold by CLO.
The First Course
The first course covers the basics of the software. Here are a few of the things I’ve learned.
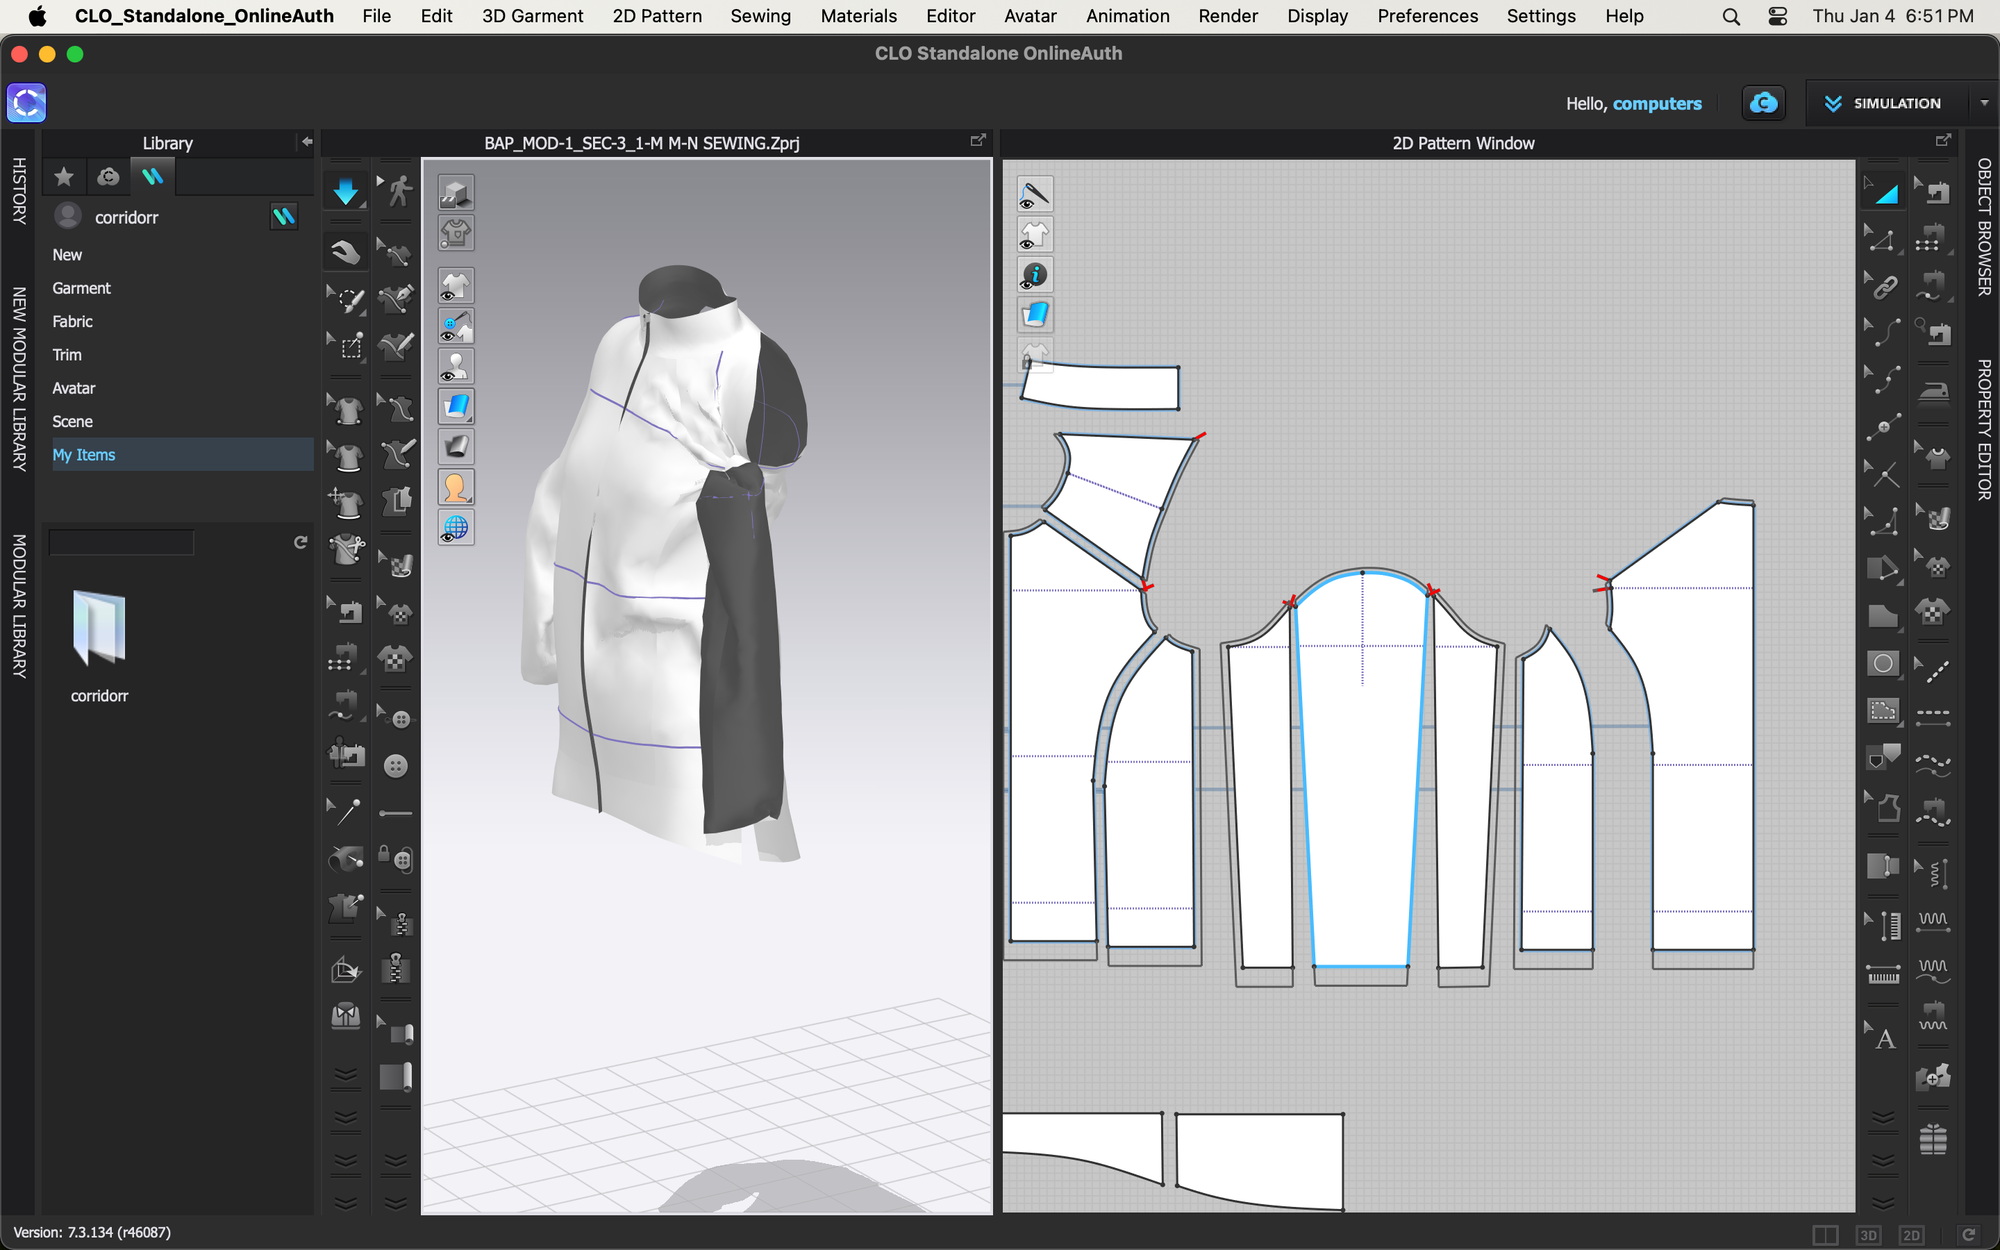
The interface: CLO provides two views simultaneously, a 2D view (on the right) and a 3D view (on the left). The idea is that flat pattern pieces get made and interacted with in the 2D view, and then can be separately arranged and manipulated in the 3D view. Changes in one window will be reflected in the other window, however, you can change the viewing angle in one window without the other window changing. This is a pretty cool paradigm. I’ll take a recording of it at some point, and not just screenshots.
In one of the below screenshots, in the 3D view, you can see the garment drape realistically. This is after ‘Simulation’ or ‘gravity’ (same thing) has been turned on. In other screenshots in the 3D view, you can see that the pieces are somewhat more flat.
When Simulation is off, you can manipulate the flat pieces using the Gizmo and arrange them around an avatar. You can select from a handful of stock avatars (male or female) of a few different ethnicities. You can also adjust their body type to make them heavier or slimmer.
You’ll also notice that in other screenshots, some of the pieces in the 3D window have lines stretching between them. The lines represent a sewing relationship between the pieces. Sewing the pattern pieces together is, of course, necessary for them to simulate the garment accurately. This was the most useful part of the course for me.
You can sew in a few different ways. The two most common are segment sewing, which assumes that you’re sewing two pieces of the same length, and free sewing, which allows you to work more freeform (in a way that is still intuitive).


Screenshots from one of the projects in the first course.
Once all the pieces are sewn together, you can turn Simulation on, and the garment should drape correctly. The example project shown in the screenshots is somewhat complicated, in a way that was useful to go through. Something is still wonky about it, but it provides a good reference for me to come back to in the future.
What Next?
In the short term, what I want from CLO is the ability to create and adjust a pattern until it ‘works’. Doing this in real life is not intuitive to me, so I’m hoping that with CLO I can ensure that a garment’s measurements make sense before actually attempting to construct a sample.
The first course didn’t cover drafting pattern pieces from scratch yet; instead, lessons used free files from the 3D marketplace CLO-SET designed for the course that already had pattern pieces added.
The second course focuses on fabrics and details, which isn’t my highest priority. So instead, I plan to jump directly to the third course, on garment modification, since it seems most relevant to drafting and editing patterns.

No Comments