0.0.6 – Kimono Block
Buckle up, this one’s pretty interesting.
I was about to throw in the towel tonight. And by that, I mean the project of using the CLO software. But, just as I was about to give up, I made an interesting connection that turned my perspective around completely…
Let’s rewind a bit. For context (I think all the readers of the blog are aware of this), a couple of years ago, I took this jacket I own from Acronym, a J28-K:


(I love this jacket. I bought it from Saint Alfred in Chicago, I think in 2016. I remember chatting with the sales associate, who felt I was a big enough fan of the Acronym brand–or maybe he just wanted me to stop talking his ear off and leave–to give me a discount on the jacket. At the time, this was sitting on the shelf… but a few years later the model, a collaboration with Nemen, became very sought after)
Anyway, back in 2021/2022 I used masking tape to make an attempt at reverse engineering the pattern so I could make another one out of a different fabric. Here’s what the pattern looked like once I was done:

Overall it worked well. I used this pattern to make the jacket I introduced in the first post:

However, there was always one issue that plagued my copy of the jacket. It was the underarm gusset.
No matter how much I tried, I couldn’t understand how to get the triangular underarm gusset to work. I had done my best to faithfully reverse-engineer the 3D shape of my real-life jacket into flat, masking tape patterns. I had figured out the body and the (very tricky) sleeve. But the gusset just wouldn’t work, and I couldn’t figure out why.
For literal years I’ve been wanting to figure out what was wrong with the pattern I reverse-engineered. CLO has felt like an opportunity to tackle that problem.
First, I needed to digitize the pattern.
I duplicated and flipped the photo of the masking tape pattern shown above, then printed both copies out on letter-size paper:


Then I traced the pattern in Affinity Designer (essentially Adobe Illustrator):

Probably not the most efficient way to do this. But it was fun. Photocopies of photocopies of photocopies…
Then, I took the digitized version of the pattern and traced it in the CLO software as a pattern:

The pattern looked something like this on the 3D avatar, before simulation:


(In this version, I omitted the triangular armpit gusset.)
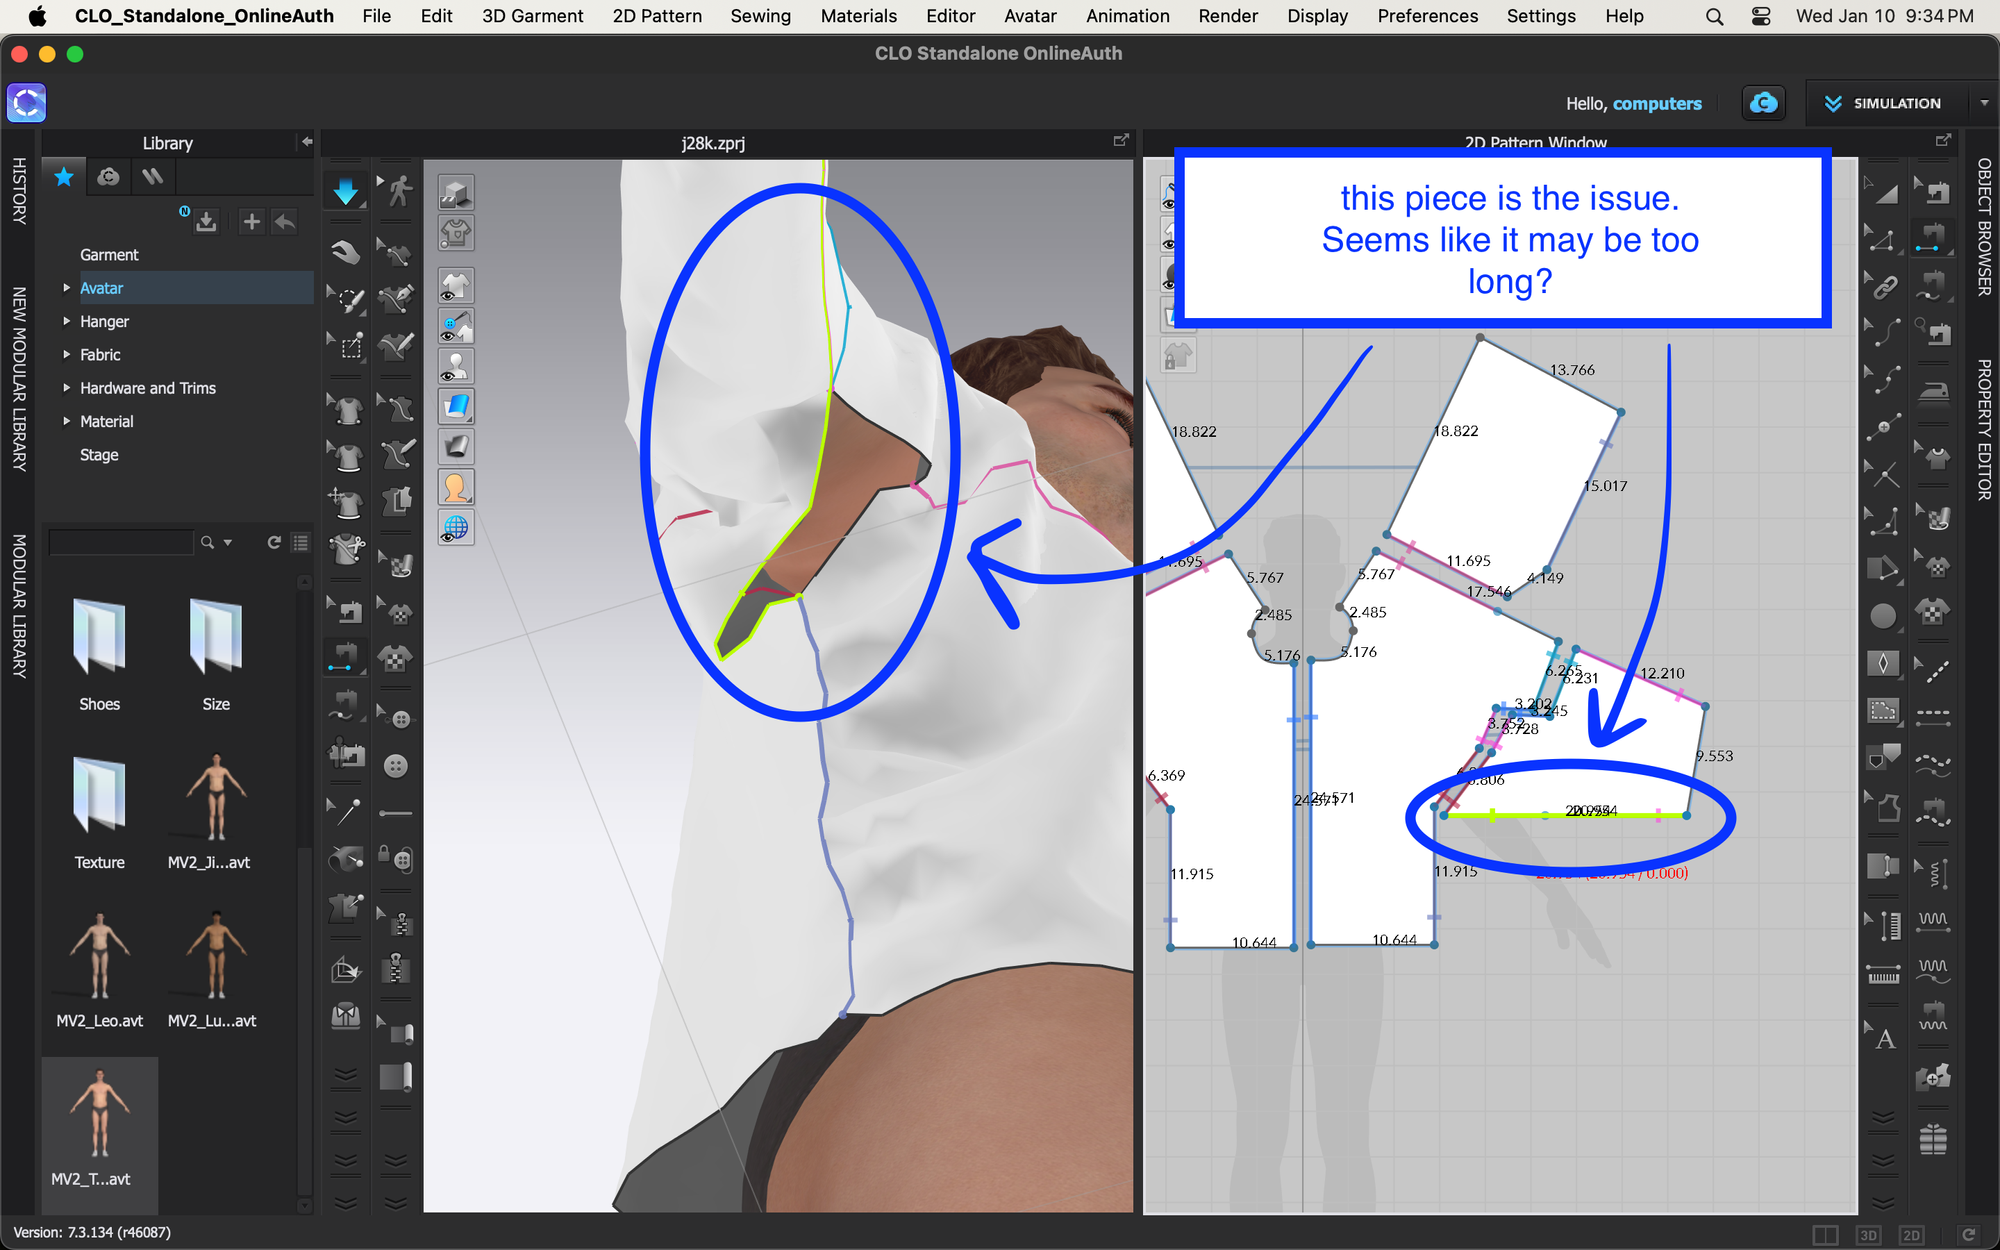
When I simulated the jacket in CLO, it just wouldn’t work. I encountered the same exact problem I did in real life. And I didn’t feel like I had an understanding of how to edit the pattern to fix it. Which… left me exactly where I’ve been for the past 2 years. Argh.
All of that time spent learning new software, just to arrive at the same place I started? 😩
As I complained to my wife and considered scrapping the whole project, an idea popped into my head. I remembered something I had read from an Acronym product description:
– 3L GORE-TEX PRO [Next generation technology]
– MICROGRID backer
– adjustable stowaway Fasthood
– ForceLock
– removable JacketSling
– EscapeZip
– SpeedLock shockcord hem
– left and right Gravity Pockets
– detachable logo tape
– 5 external pockets
– adjustable velcro cuffs
– front zip closure
Specifically, the thing I remembered was this:
A combination of old world and new, the KG fit block is a hybrid of vintage Japanese kimono and modern technical sportswear pattern making.
The pattern was based on a kimono block.
Note that the pasted description above is from a different jacket, the J32, but I think it uses the same, or a similar, pattern block to the J28. The way there’s no shoulder seam, but rather crinkling around the shoulder mirrors what I see in my original J28.

I began to realize that maybe the comparison to a kimono could explain how my pattern shape was wrong!
Here’s a photo of a vintage kimono:

Notice that, when laid flat, it’s in the shape of a capital “T.”
My pattern, in contrast, doesn’t follow that shape.

I looked at my pattern again and realized that maybe it should be T-shaped.
To test my theory, I made some changes in CLO to change the slant highlighted above, into a flat line:

It looks good. After creating the sewing relationships among the pattern pieces and running simulation, I examined the underarm area. Shockingly, it seems to look very similar to what I see on my original jacket. I don’t want to get too excited before I can truly validate this, but I feel like it’s on the right track. At the very least, this is something new to experiment with.
Something about the pattern just feels more simple and “right” now. So I think there’s a good chance it’ll work out.
Thanks for reading, and see you next time!

No Comments